
1. Download firmware
Download the latest firmware from: https://www.tp-link.com/en/download/TD-W8960N.html
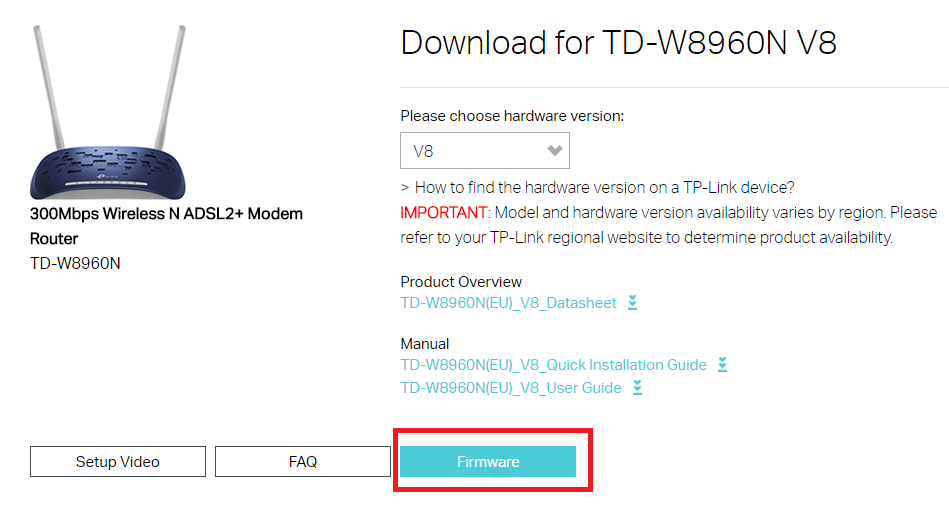
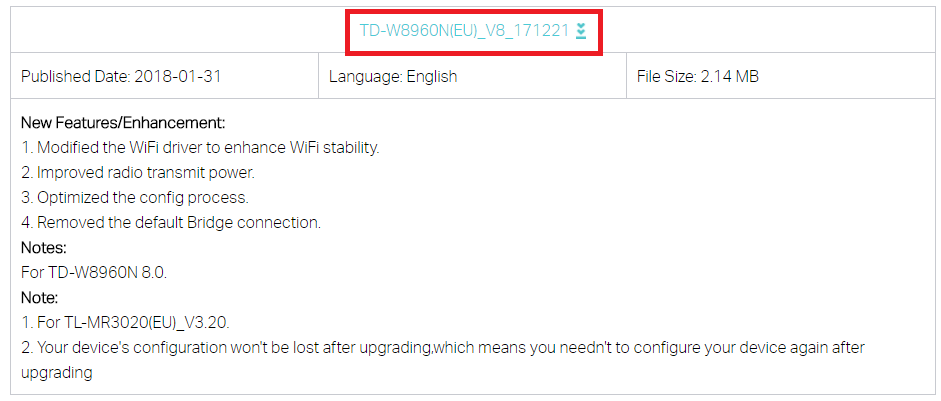
Download the firmware by clicking the link
2. Extract and run
Extract the file
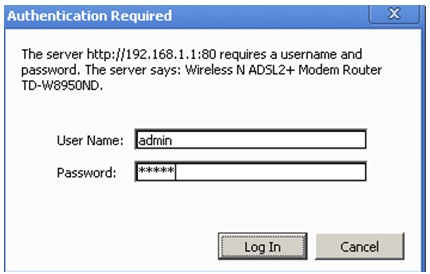
3. Enter TP-Link’s IP address into your web web-browser IP number (192.168.1.1)
Log in: Username: admin Password: admin
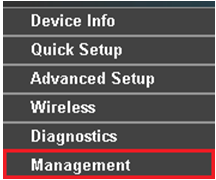
4. Select Management from the side bar
5. Select Upgrade Firmware from the sidebar, select Choose File and select the extracted firmware and click Update Firmware.
How to configure your modem to Kiwi Internet
1. Enter TP-Link’s IP address into your web web-browser IP number (192.168.1.1)
Log in: Username: admin Password: admin
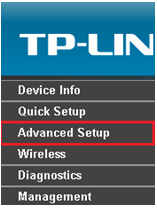
2. Click ‘Advanced Setup’ on the sidebar.
3. Click WAN Service

4. Click the remove box and select Remove.

5. Select ATM Interface from the sidebar and also remove it.
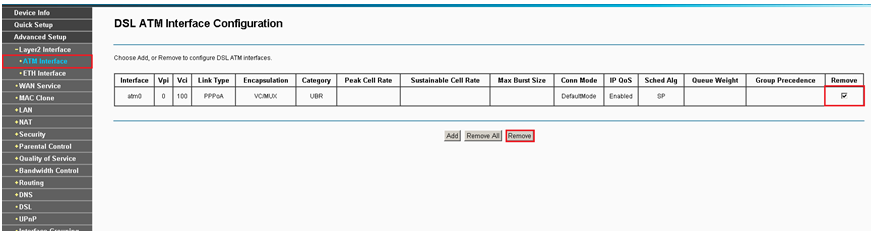
5.1. Now click Add

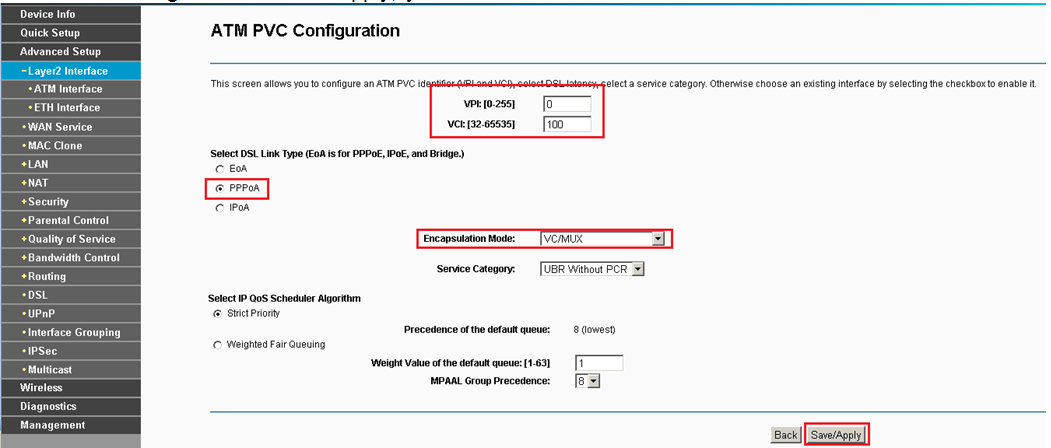
5.2. Enter the following and click Save/Apply, you will be taken to another screen to confirm.
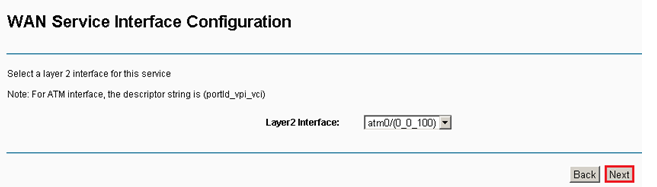
6. Go back to WAN Service
7. Click Add

8. Click next
9. Match the settings with the below, replacing the username and password with your credentials.
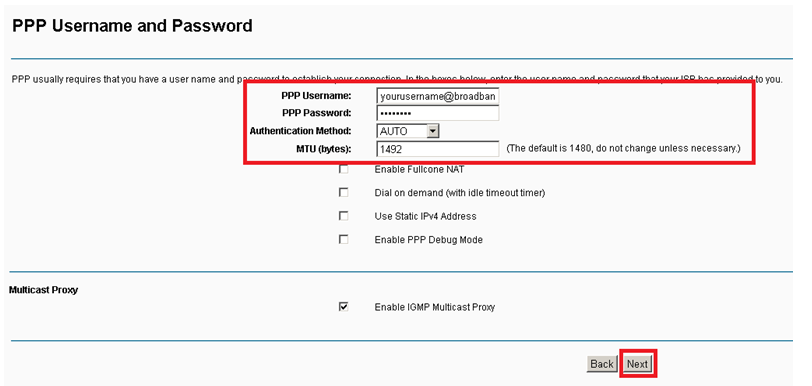
10. Click next
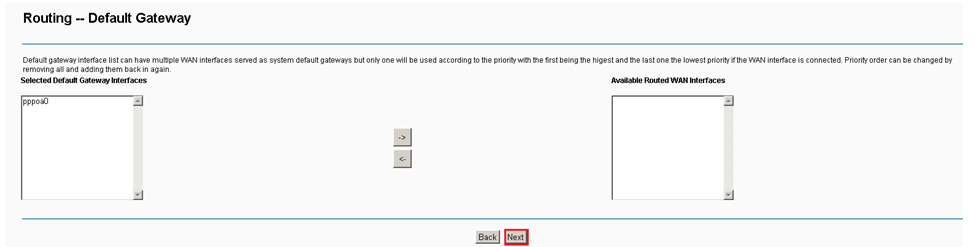
11. Click next
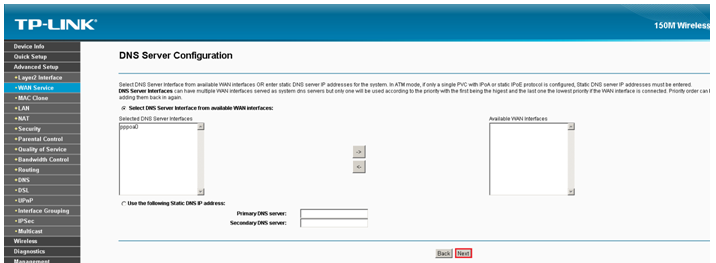
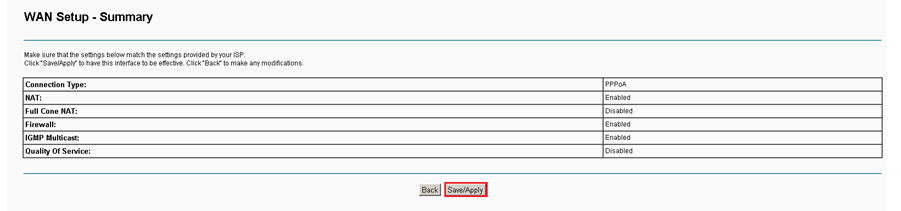
12. Click Save/Apply
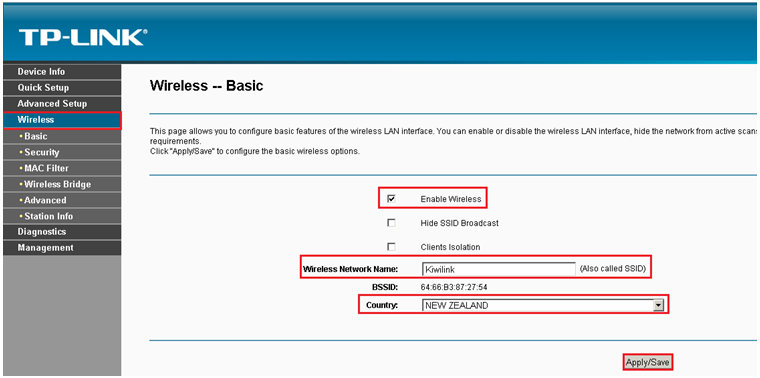
How to Configure Wireless
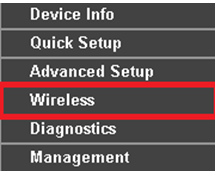
1. Click Wireless
2. Fill in the below
3. Click Security on the sidebar.
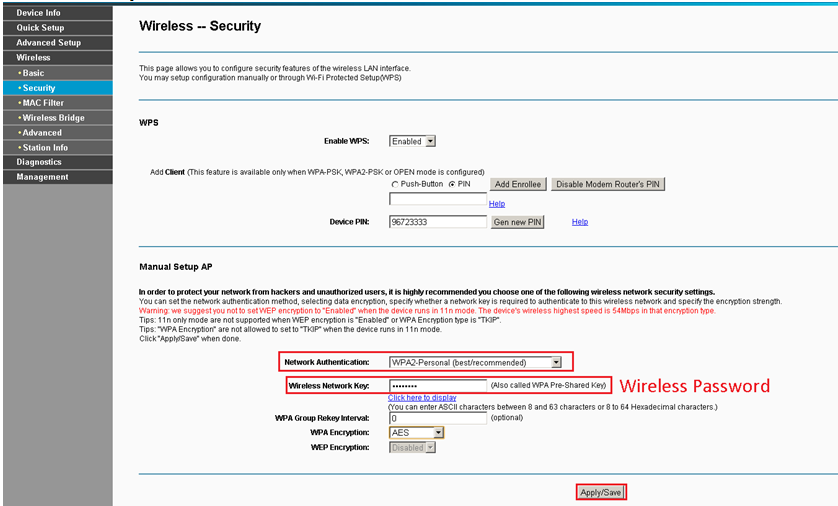
Click Apply/Save and you’re done.