
1. Connect
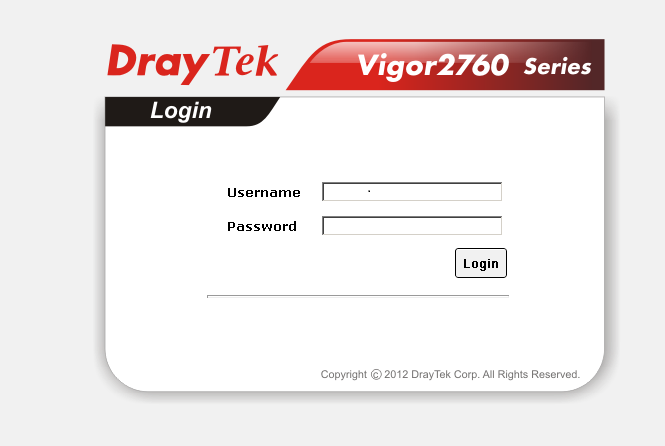
2. Login
You will be prompted with the above, login using:
User: admin
Password: admin
3. Download
Download the latest firmware from here https://www.draytek.com/en/download/firmware/
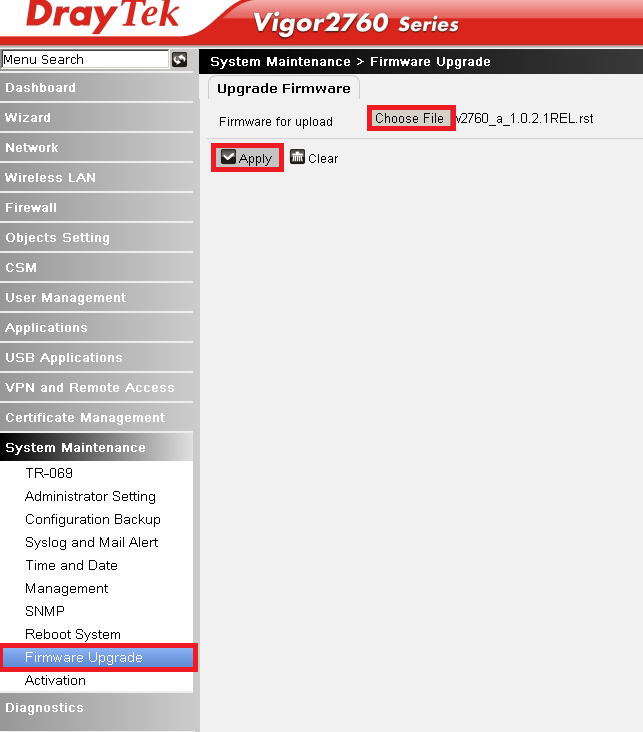
4. Upgrade firmware
Navigate to System Maintenance and click Firmware Upgrade, locate the file you downloaded from the above and click Apply.
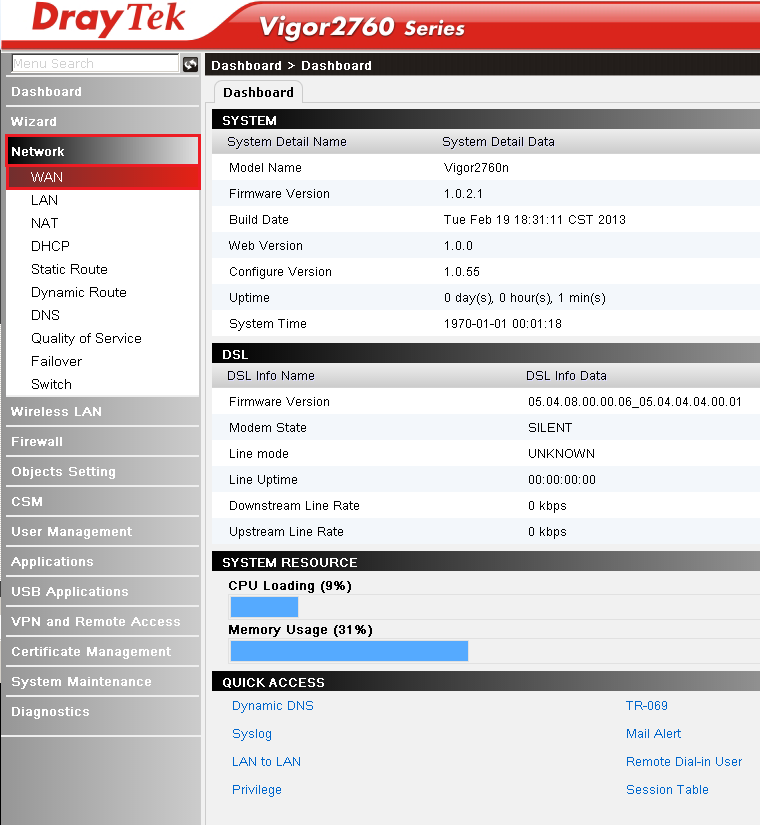
5. WAN
The system will upgrade and reboot, once rebooted navigate to Network and then WAN.
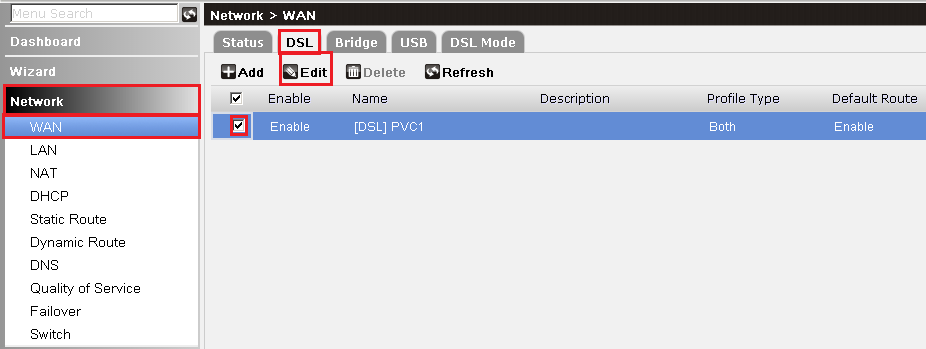
6. Edit DSL
Select the DSL tab and then select the DSL connection by ticking the box, then click edit.
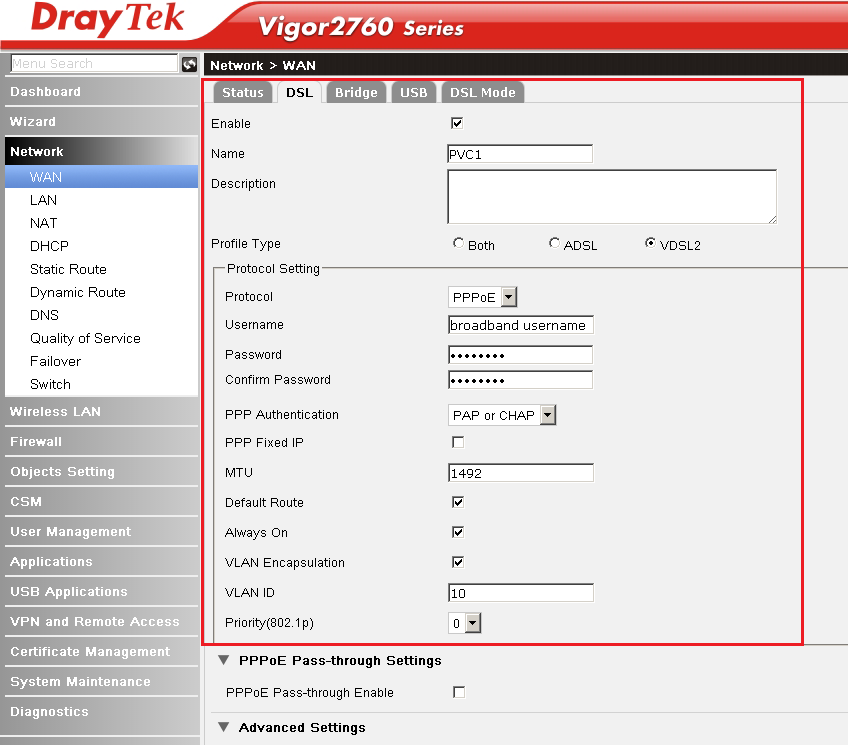
7. VDSL
If you are configuring ADSL please skip this step and follow step 8. If configuring VDSL match the below.
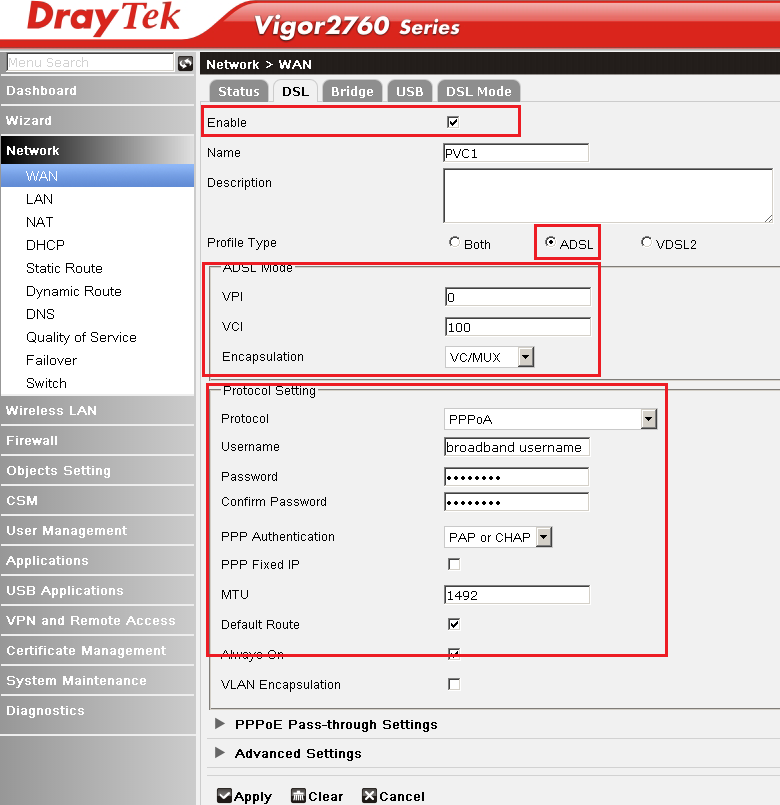
8. ADSL
If you are configuring ADSL match the below. VDSL users skip this step.
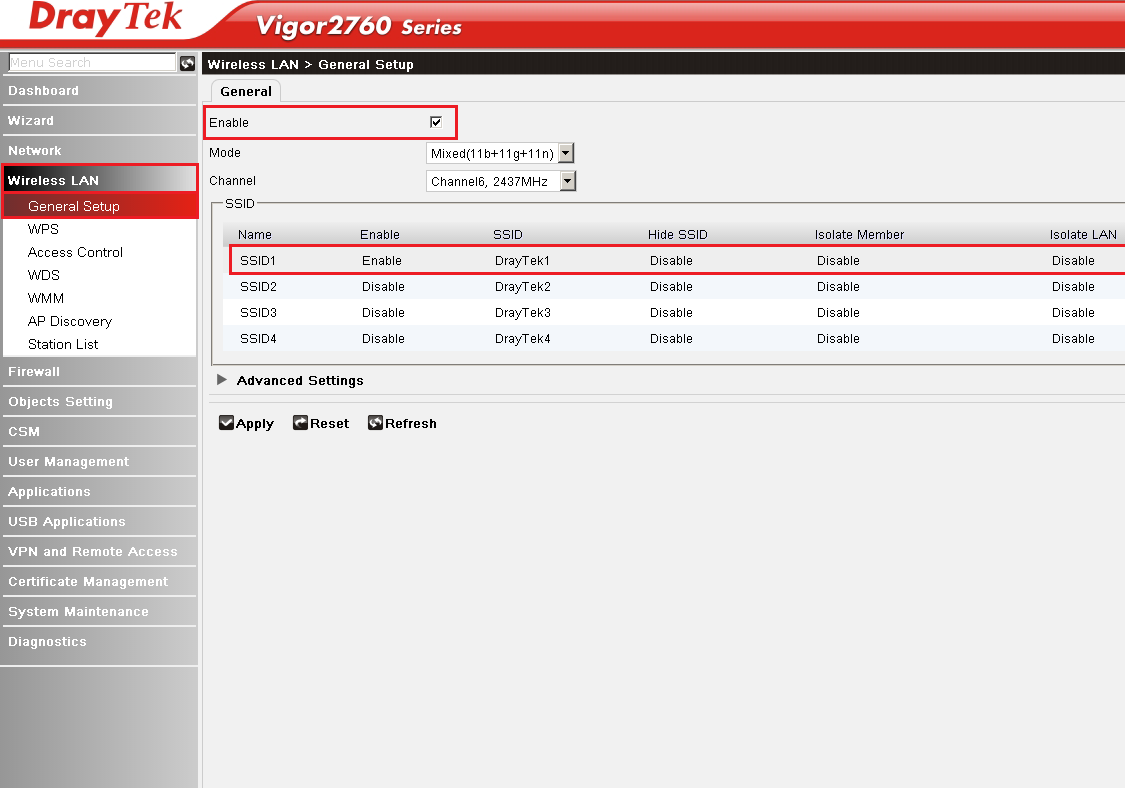
9. Configure wireless
Lastly we need to configure wireless, navigate to Wireless LAN and then General Setup.
Double click the top row to edit the settings, enter them as follows or as you prefer.
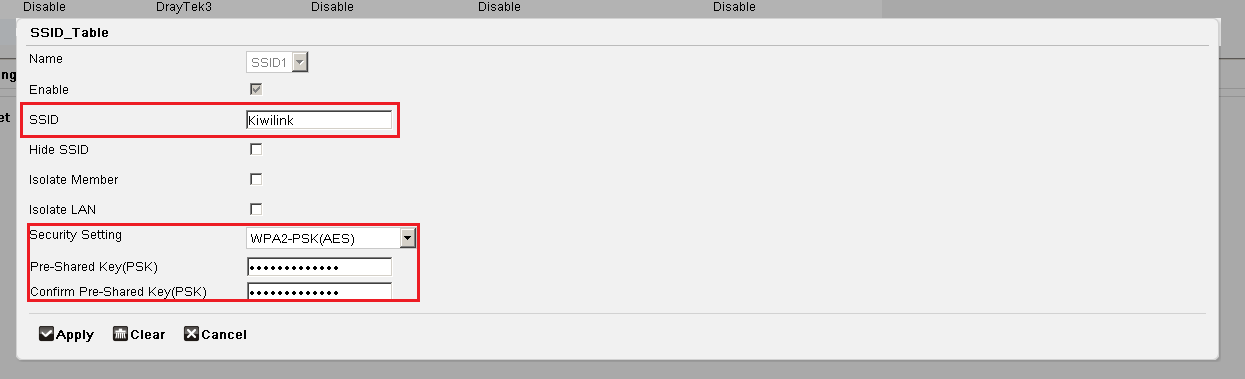
SSID = Wireless Network Name
Pre-shared Key = Wireless Network Password
Your connection should now be setup, if your service is still not working please recheck the DSL settings. If it still isn’t working give us a call on 0800 894 198.